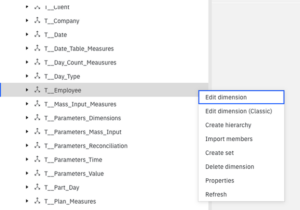
To add an element into a dimension you need to go into the ‘Data and Models’ section of IBM Planning Analytics Workspace. Open the workbench and highlight the ‘Dimensions’ selection:
Right click on the dimension that you want to edit and choose ‘Edit Dimension’
This will show you the elements that make up the dimension.
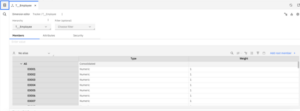
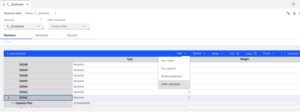
To add a new employee, select a member (in the case below ‘E0062’). In the ribbon that appears, select ‘Add’ > ‘After Selection’.
Now that the element has been added, attributes can be assigned. Attributes are used to process data e.g., if the nominal code is an ‘Asset’ it will get processed differently to a ‘Liability’ or if the element is a weekend date it may be treated differently to a week-day day. In this case we have set the ‘Name’ of the ‘E0063’ element to ‘Sean Newton’, set his ‘Active’ status to ‘Yes’ and identified their ‘Controller’ skills to ‘Yes’.
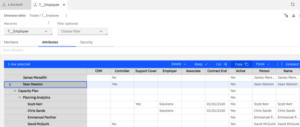
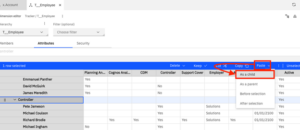
The new element(s) l be visible in the dimension. The element then needs to be put into an additional roll-up. In this example element ‘E0063’l be copied and added to the roll-up ‘Controller’.
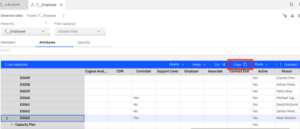
And then ‘Paste as a Child’ to the roll-up element, ‘Controller’, that the value will consolidate to.
This happens in real time and so there is no 2-phase updates. When changes are made, they are live!
Therefore, it makes sense to work on dimensions in a development environment and move the changed dimension file (<Dimension Name>.dim) the dimension file created for the attributes (}ElementAttributes_<Dimension Name>.dim) and the attribute cube that is generated to hold the values, (}ElementAttributes_<Dimension Name>.cub) to your live environment and stop and start the server with these updated items.


