This page is for those users who are logging into Controller in the Cloud via Citrix, for the first time.
Before you start please ensure you have received an email providing you your log-on and password detail’s.
Click on the link below to land on the Citrix Homepage to get started.
https://ams.controller.ibmcloud.com/vpn/index.html
You should now be prompted with the following Log-on screen.

Enter the credentials as provided.
After successfully logging in you will now be asked to change the password to one of your own choice.
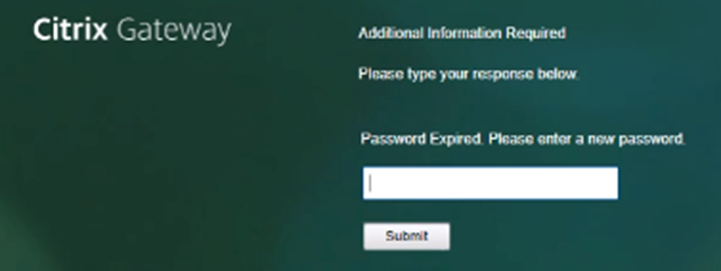
Your password must be at least 20 characters and contain a mix of 3 out of the 4 options below:
- Uppercase letter
- Lowercase letter
- Number
- Special character (@*%$£…)
Also, you cannot use any part of your username in the password. It will reject the password but won’t tell you why!
You cannot recycle an old password.
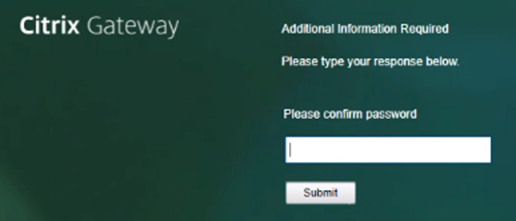
One completed, a window will now appear with the message ‘Please confirm password’. Please re-enter your new password, again being careful to key this correctly
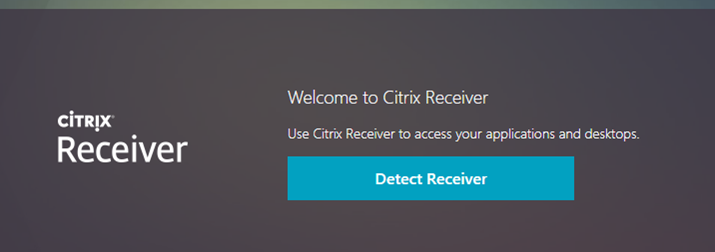
If your new password has been accepted, you will be presented with a ‘Welcome to Citrix Receiver’ message.

All IBM Citrix passwords last for 90 days. You will be notified on IBM Citrix connection when any such renewal is needed, any update again needing to comply with the criteria listed above.
Next, Select ‘Detect Receiver’.
Check the license agreement and hit download.
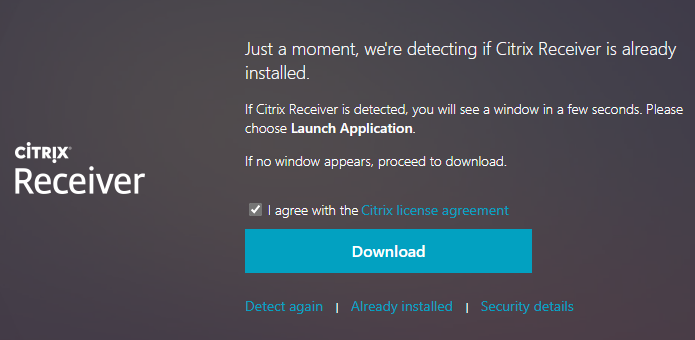
As long as you have permissions to download on your device the download will start, if it doesn’t start to download (permissions related?) you will need to speak to your IT team and ask for their assistance, generally the downloaded file can be found in your ‘Downloads’ folder.

Once its downloaded, double click on the downloaded executable to start the install.
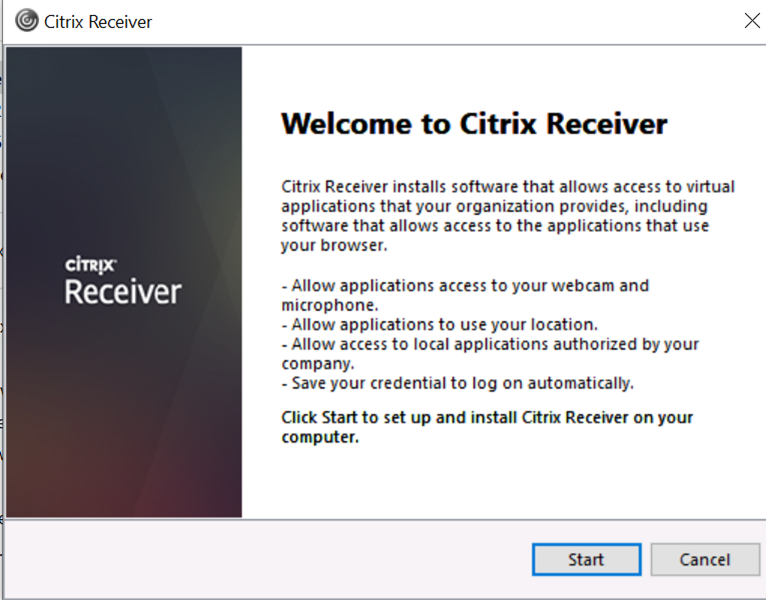
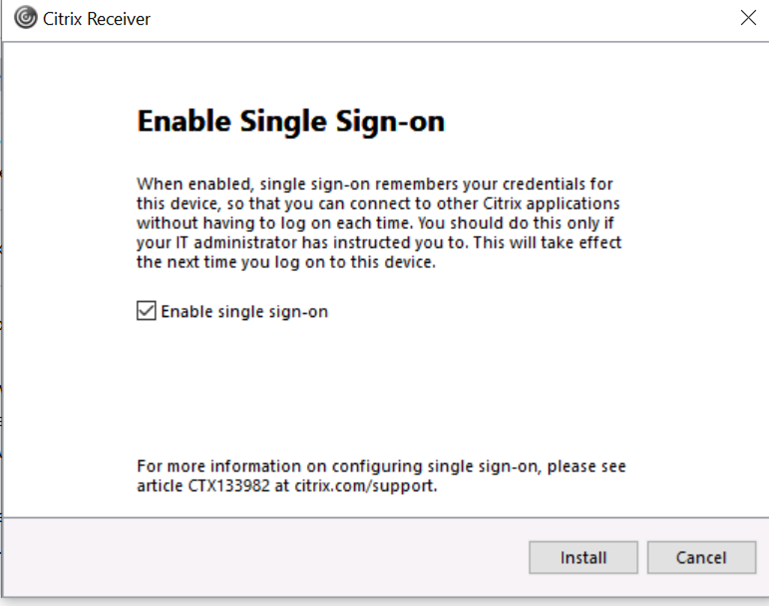
Select Install.
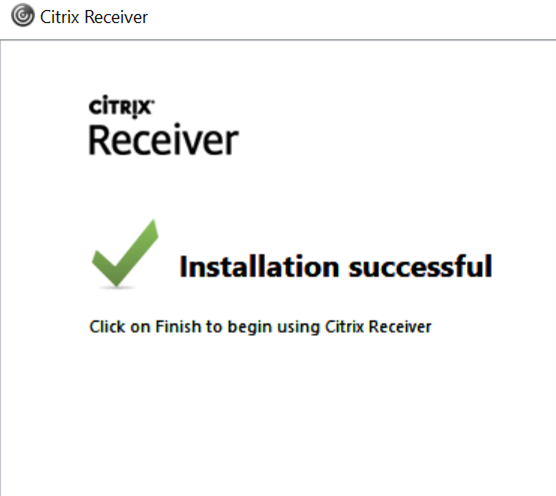
Once the install has completed you will be prompted for an ‘Installation Successful’ message as below:
Back to the main Citrix screen and click on continue.
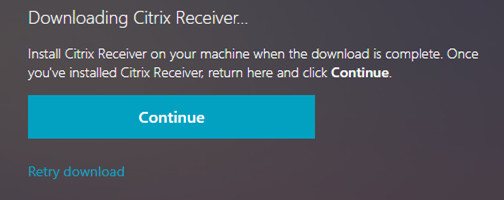
Tick the tick box, and select ‘Open’.
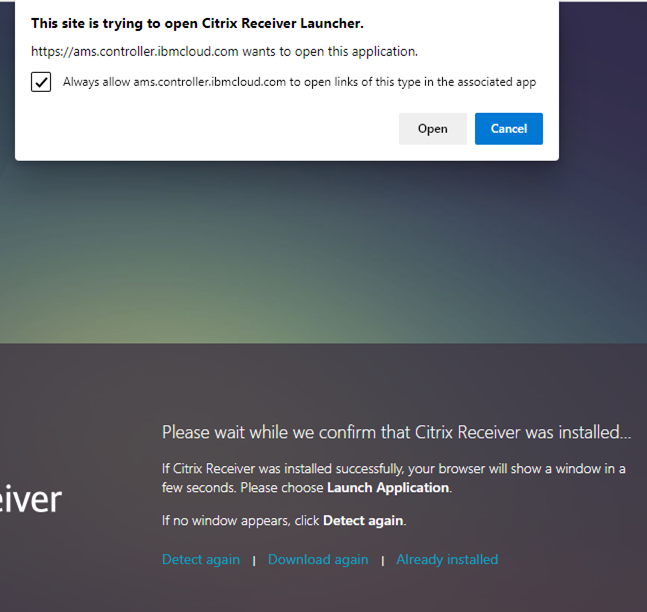
You will now be prompted with the Citrix Storefront page with the ‘<Client Name> Local Client’ as the only published App available as below.
Select the Controller icon by clicking on it once.

You will then be prompted to Click on ‘OK’
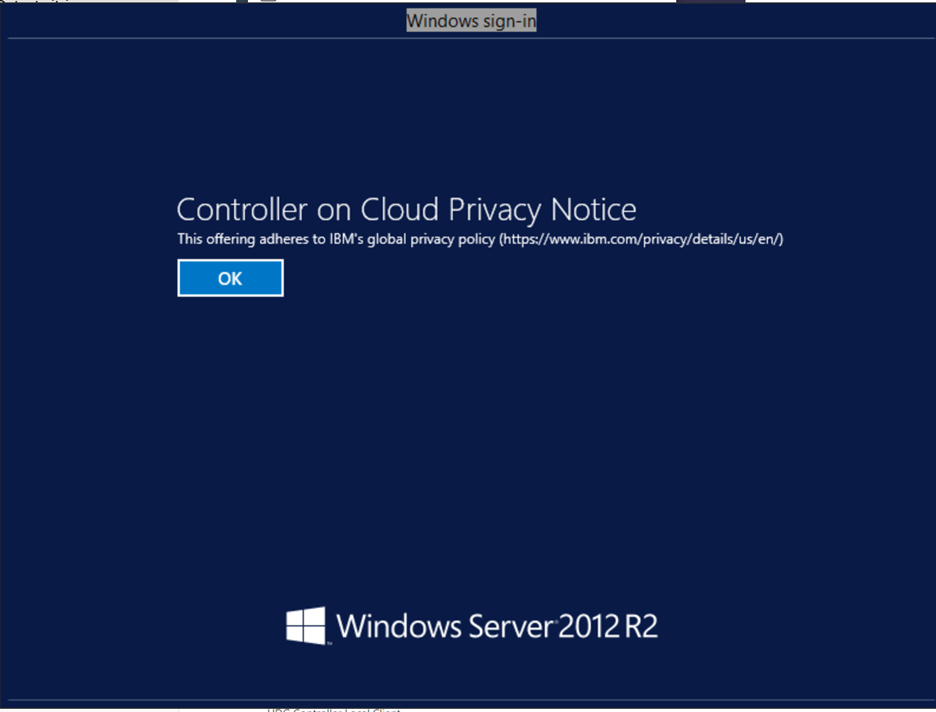
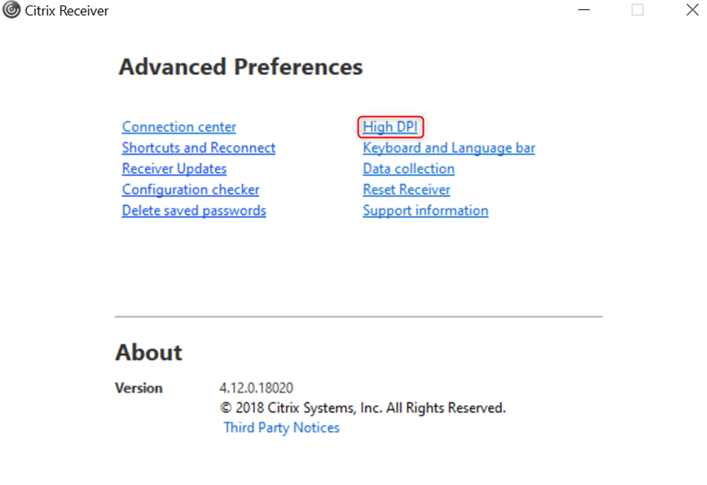
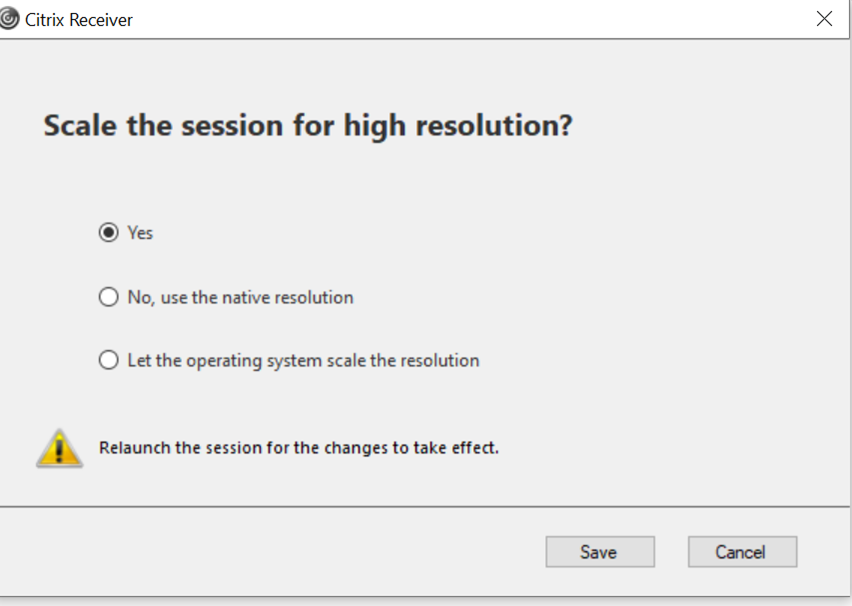
Sometimes you may not be able to click on the ‘OK’ button if you have a High Resolution screen/monitor, if that’s the case you will need to set the ‘High DPI’ setting on.
In your system try (bottom right hand corner) Right Mouse click on the Citrix Receiver icon and select ‘Advanced Preferences’
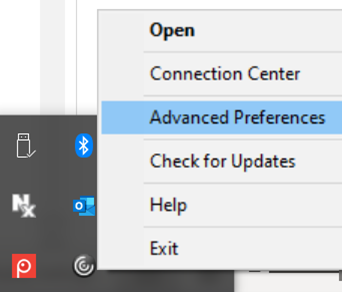
Select ‘High DPI’ and switch it on by selecting ‘Yes’ and Saving it.
You should now be able to Select the OK button on the controller window.
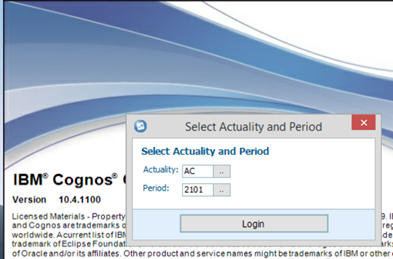
The ‘IBM Cognos Controller’ splash screen should now appear, followed by a floating box to allow to select which database you should connect to.
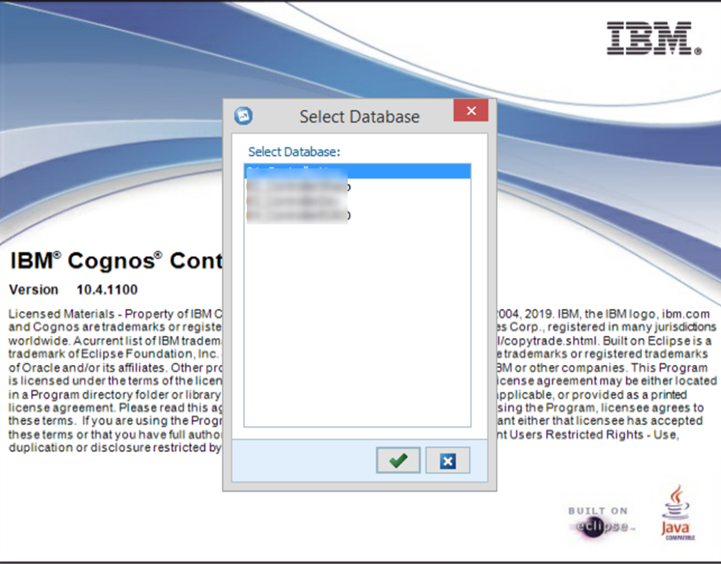
Please refer to instructions provided during Training or Demo’s as to which db you should connect to.
At the Next screen prompt, Log in with your same credentials as provided.
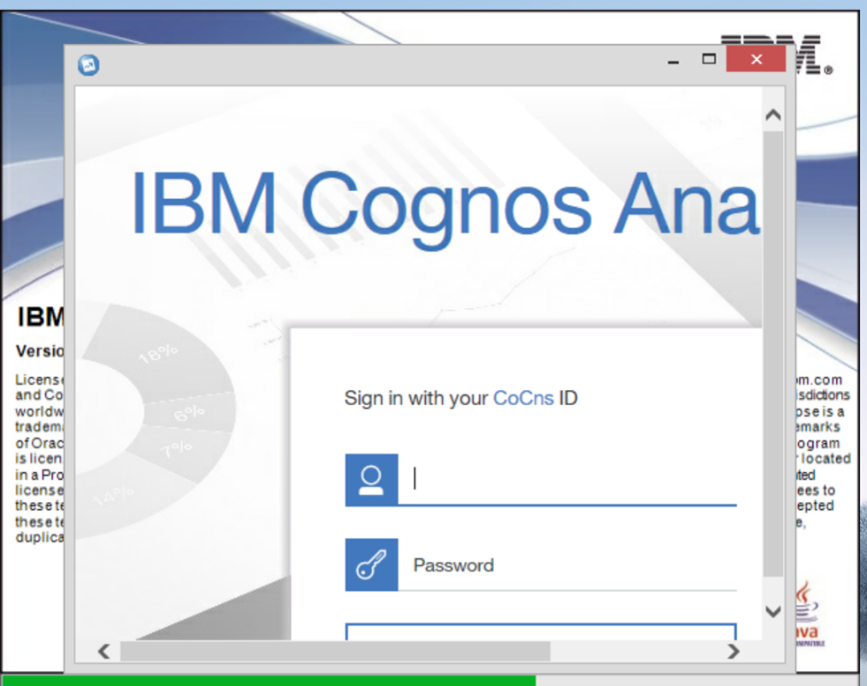
Select the Actuality and Period (again depending on your work, but default should be fine) and click on ‘Login’
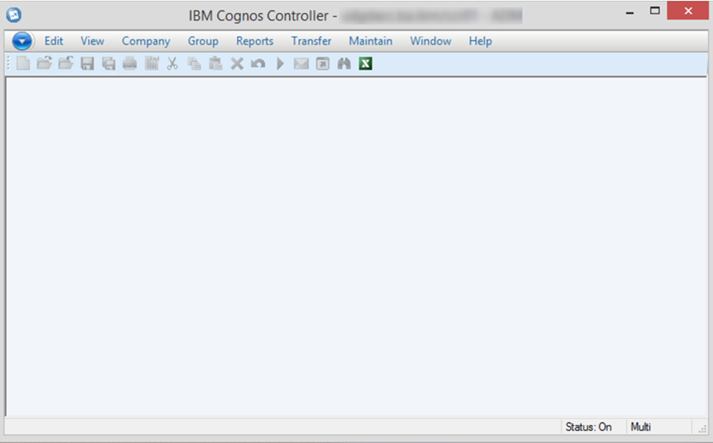
You should now be logged in successfully.
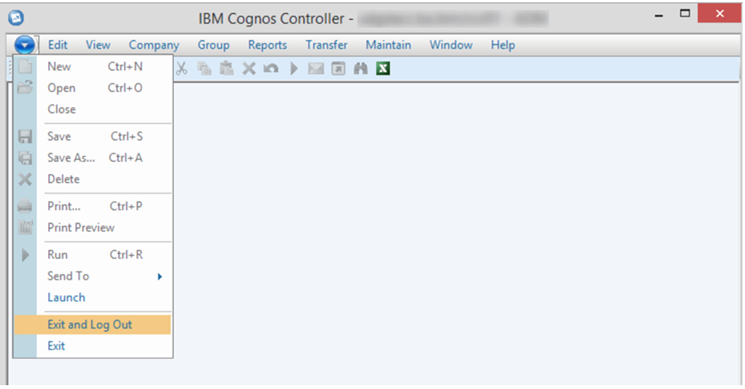
When exiting out of Controller use the ‘Exit and Log out’ function.
